
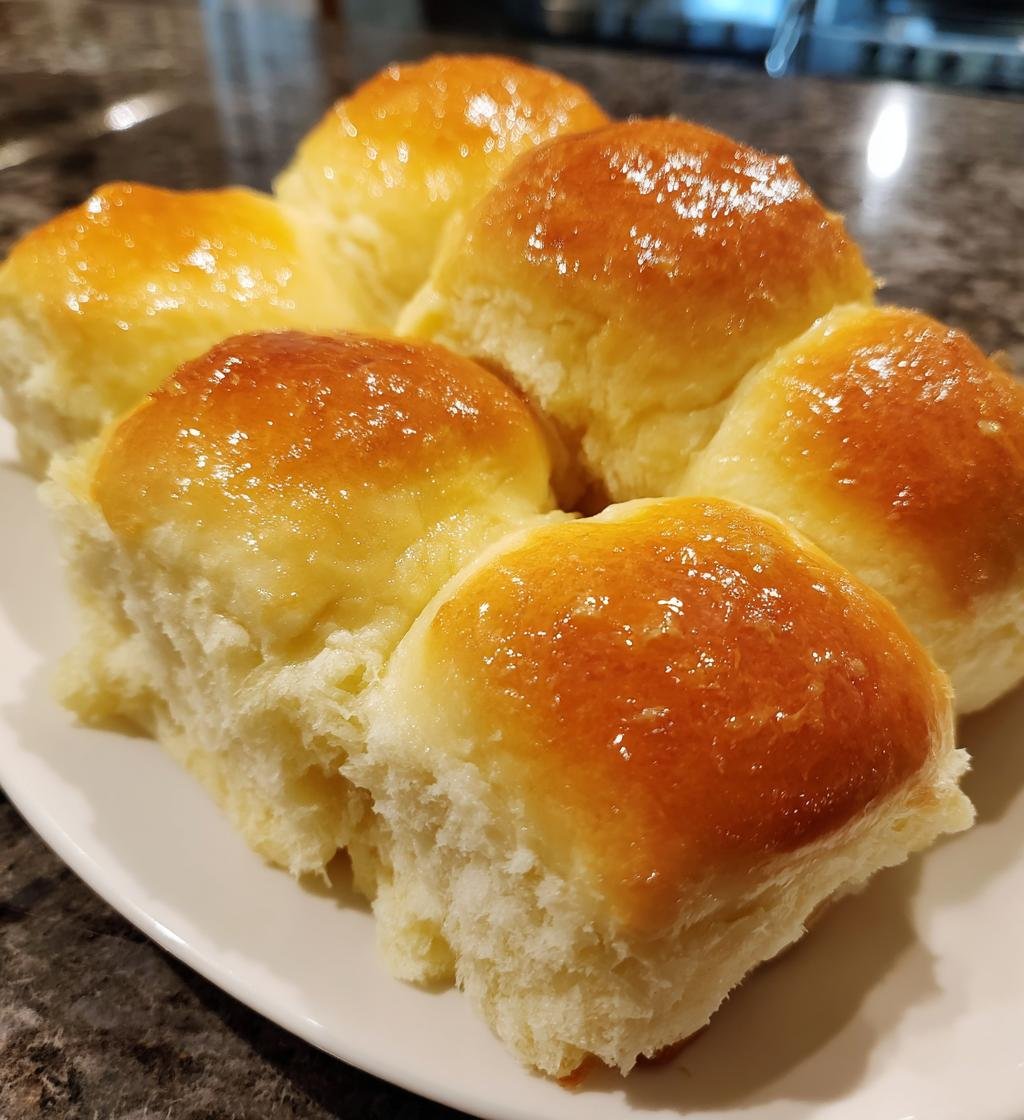
Welcome to my kitchen, where the aroma of warm, freshly baked Dinner Rolls July fills the air! These rolls are the epitome of softness and fluffiness – trust me, you’ll want to have them at every meal. I remember the first time I made these for a family gathering; my relatives couldn’t stop raving about them! It was a simple summer barbecue, but when those rolls came out of the oven, they were the star of the show. Everyone was reaching for seconds, and I felt like a superstar chef!
This recipe is so easy, even novice bakers can pull it off without a hitch. With just a handful of ingredients that you probably already have in your pantry, you’ll whip up a batch of rolls that are perfect for soaking up gravy, sandwiching your favorite fillings, or just enjoying with a pat of butter. The best part? They’re versatile for any occasion, whether it’s a holiday feast or a casual weeknight dinner. So, let’s dive into this delightful recipe and get those rolls rising!
Ingredients List
Here’s what you’ll need to create these delightful Dinner Rolls July. Gather these ingredients, and you’ll be on your way to baking up a fluffy batch in no time!
- 4 cups all-purpose flour
- 1 packet (2 1/4 tsp) active dry yeast
- 1/4 cup sugar
- 1 tsp salt
- 1/4 cup unsalted butter, melted
- 1 cup warm milk
- 2 large eggs
Make sure your ingredients are fresh, especially the yeast, as that’s what will give your rolls that lovely rise. I always recommend measuring out everything beforehand; it makes the process smoother and more enjoyable!
How to Prepare Dinner Rolls July
Now that you have all your ingredients ready, let’s dive into the step-by-step process of bringing these fluffy Dinner Rolls July to life! Don’t worry, I’ll guide you through each step so you can achieve that perfect rise and soft texture.
Step 1: Prepare the Yeast Mixture
First things first, we need to get that yeast working its magic! In a bowl, combine your warm milk and active dry yeast. Make sure the milk is warm but not too hot – you want it around 110°F (45°C) to activate the yeast without killing it. Let this mixture sit for about 5 minutes. You’ll know it’s ready when it becomes frothy and bubbly, which means the yeast is alive and kicking!
Step 2: Mix the Ingredients
Once your yeast is all frothy, it’s time to add some sweetness! Pour in the sugar, melted butter, and crack in the eggs. Give it a good mix until everything is well combined. I love using a whisk for this part; it really gets the air in there! Make sure there are no lumps so that the rolls will be light and fluffy.
Step 3: Forming the Dough
Now comes the fun part – adding in the flour and salt! Gradually add the flour to the wet mixture while gently folding it in. You’ll want to do this until the dough starts to come together, and then add the salt. Don’t be alarmed if the dough feels a bit sticky at first; that’s perfectly normal! Knead the dough on a floured surface for about 8-10 minutes until it’s smooth and elastic. You’ll know it’s ready when it springs back slightly when you poke it!
Step 4: First Rise
Once your dough is beautifully kneaded, it’s time for it to rise! Lightly grease a bowl and place your dough inside, turning it around so it’s coated with the oil. Cover the bowl with a clean kitchen towel or plastic wrap and let it rise in a warm spot for about 1 hour. This is where the magic happens, and your dough will double in size, making those rolls light and fluffy!
Step 5: Shape the Rolls
After that glorious rise, it’s time to knock the air out of the dough! Gently punch it down to deflate it, then turn it out onto a floured surface. Now, divide the dough into 12 equal pieces. Shape each piece into a smooth ball by tucking the edges under. Just imagine those rolls as little clouds waiting to be baked!
Step 6: Second Rise
Place your beautifully shaped rolls on a baking sheet lined with parchment paper, making sure to leave a bit of space between them. Cover them again with a towel and let them rise for another 30 minutes. This second rise is crucial for that fluffy texture, so don’t rush it!
Step 7: Baking
Ah, the final step! Preheat your oven to 375°F (190°C) while your rolls are rising. Once they’ve puffed up nicely, pop them in the oven and bake for about 15-20 minutes, or until they’re golden brown on top. You’ll know they’re done when they sound hollow when tapped on the bottom. Just picture that warm, buttery aroma filling your kitchen – it’s pure bliss!
Tips for Success
Let’s make sure your Dinner Rolls July turn out perfectly every time! I’ve gathered some of my favorite tips to help you achieve that soft, fluffy texture we all crave.
Get Your Ingredients to the Right Temperature
Temperature can make a world of difference in baking! For the best results, make sure your milk is warm, around 110°F (45°C), to activate the yeast without killing it. And if you’ve got your butter out beforehand, it should be soft but not melted. Trust me, this helps the rolls rise beautifully!
Kneading is Key
Kneading the dough is where the magic happens! When you knead, you’re developing gluten, which gives the rolls their structure. Aim for about 8-10 minutes of kneading until the dough is smooth and elastic. If it’s sticking to your hands too much, don’t hesitate to add a sprinkle of flour, but be careful not to overdo it. You want a slightly tacky dough, not a dry one!
Don’t Rush the Rising
Patience is a virtue in baking! Allowing your dough to rise for the full hour during the first rise is essential for the fluffiest rolls. Make sure to keep it in a warm, draft-free area. If your kitchen is too cool, you can turn your oven on to the lowest setting for a few minutes, turn it off, and then place the dough inside to rise!
Check Your Oven Temperature
Ovens can be sneaky! It’s always a good idea to have an oven thermometer to ensure it’s actually at 375°F (190°C) when you bake. If your rolls are browning too quickly, you can cover them loosely with foil to prevent burning while they finish baking. You want that golden color, not charred edges!
Troubleshooting Common Problems
If your rolls don’t rise as much as you hoped, check your yeast’s expiration date and make sure it was activated properly. If they’re doughy in the middle after baking, they may need a little more time in the oven. Don’t forget to tap the bottom for that hollow sound – it’s a sure sign they’re done!
With these tips in hand, you’ll be well on your way to making the most scrumptious Dinner Rolls July that your family will love. Happy baking!
Nutritional Information
Now that you’re all set to bake these delicious Dinner Rolls July, let’s talk about the nutrition! Each fluffy roll is not just a treat for your taste buds but also packs in some nutrition. Here’s the typical nutritional breakdown:
- Serving Size: 1 roll
- Calories: 150
- Fat: 5g
- Saturated Fat: 3g
- Unsaturated Fat: 2g
- Trans Fat: 0g
- Cholesterol: 30mg
- Sodium: 150mg
- Total Carbohydrates: 22g
- Fiber: 1g
- Sugar: 4g
- Protein: 4g
Keep in mind, these values are estimates and can vary based on the specific ingredients you use. If you decide to swap any items or add extra goodness, just adjust accordingly! Enjoy these rolls without a worry, knowing you’re treating yourself to something homemade and wholesome.
Storage & Reheating Instructions
Once you’ve enjoyed your delicious Dinner Rolls July, you might find yourself with a few leftovers (if you’re lucky!). Storing them properly is key to keeping that soft, fluffy texture intact. To store your rolls, simply place them in an airtight container. This helps prevent them from drying out and keeps them fresh for a few days. I love using a glass container with a tight lid, but any airtight option will do the trick!
When it comes to reheating, you’ve got a couple of great options. If you want that fresh-baked feel, preheat your oven to 350°F (175°C) and place the rolls on a baking sheet. Cover them loosely with aluminum foil to prevent browning, and warm them for about 10 minutes. This method will bring back that lovely softness!
If you’re in a hurry, the microwave works too! Just pop one or two rolls on a microwave-safe plate and cover them with a damp paper towel. Heat them for about 10-15 seconds. Be careful not to overdo it, or they might turn tough! Either way, enjoy those delightful rolls once again, whether it’s for breakfast with a smear of butter or alongside your next meal!
FAQ Section
Q1: Can I freeze dinner rolls?
Absolutely! Freezing is a great way to preserve your Dinner Rolls July. Once they’ve cooled completely, place them in an airtight container or freezer bag, making sure to remove as much air as possible. They can be stored for up to three months. When you’re ready to enjoy them, just thaw them at room temperature and reheat in the oven for that fresh-baked taste!
Q2: What can I serve with dinner rolls?
These fluffy rolls are incredibly versatile! They pair perfectly with a variety of dishes. Think hearty soups, stews, or even as a side to your favorite roasted meats. I love serving them with a rich gravy or dipping them in a warm bowl of chili. And don’t forget about that classic butter or homemade jam spread on top – yum!
Q3: Why did my dinner rolls turn out dense?
If your rolls turned out dense, it could be due to a couple of reasons. First, make sure your yeast is fresh and properly activated. If the milk was too hot, it might have killed the yeast. Also, be careful not to over-knead the dough; you want to develop gluten but not too much, or they’ll become tough. Finally, ensure you allow enough time for both rises; that’s key to achieving that light, airy texture!
Q4: Can I use whole wheat flour instead of all-purpose flour?
You can absolutely substitute whole wheat flour for all-purpose flour, but keep in mind that it may change the texture slightly. Whole wheat flour tends to produce denser rolls. If you want to maintain some fluffiness, try using half all-purpose and half whole wheat flour for a healthier option while still keeping that lightness!
Q5: How do I know when my dinner rolls are done baking?
The best way to check for doneness is to tap the bottom of the rolls; they should sound hollow. Additionally, look for that beautiful golden-brown color on top. If you’re unsure, you can always use a toothpick inserted into the center of a roll; it should come out clean. Trust your instincts – you’ll get to know your oven’s quirks in no time!
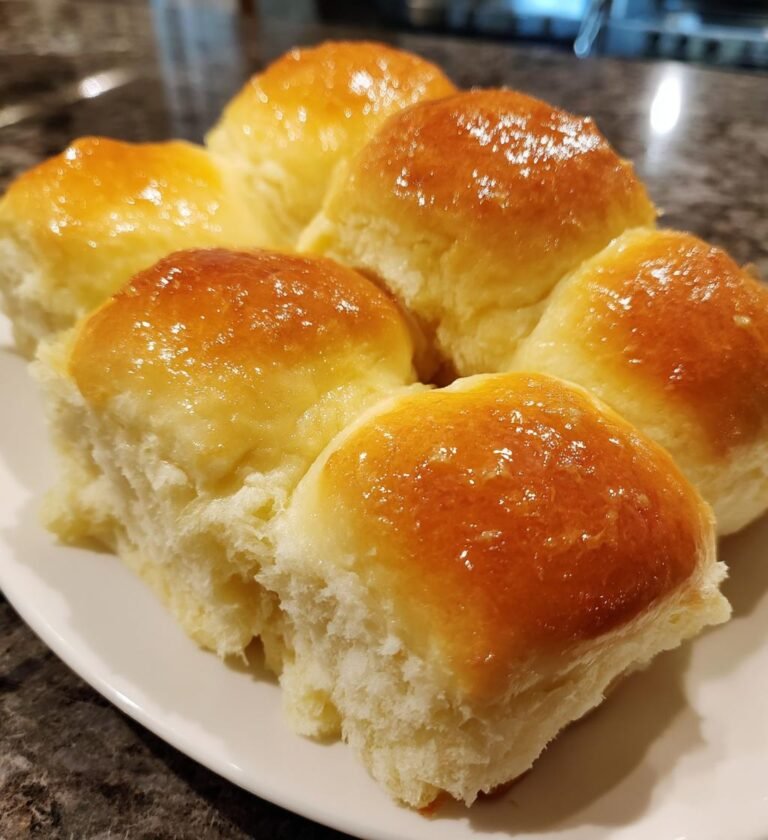
Dinner Rolls July: 7 Steps to Fluffy Perfection
Soft and fluffy dinner rolls perfect for any meal.
- Total Time: 1 hour 35 minutes
- Yield: 12 rolls 1x
Ingredients
- 4 cups all-purpose flour
- 1 packet (2 1/4 tsp) active dry yeast
- 1/4 cup sugar
- 1 tsp salt
- 1/4 cup unsalted butter, melted
- 1 cup warm milk
- 2 large eggs
Instructions
- In a bowl, combine warm milk and yeast. Let it sit for 5 minutes.
- Add sugar, melted butter, and eggs. Mix well.
- Gradually add flour and salt. Knead until smooth.
- Cover the dough and let it rise for 1 hour.
- Punch down the dough and shape into rolls.
- Place rolls on a baking sheet and let them rise for another 30 minutes.
- Bake at 375°F (190°C) for 15-20 minutes until golden brown.
Notes
- Store leftover rolls in an airtight container.
- Reheat in the oven or microwave.
- Prep Time: 15 minutes
- Cook Time: 20 minutes
- Category: Bread
- Method: Baking
- Cuisine: American
- Diet: Vegetarian
Nutrition
- Serving Size: 1 roll
- Calories: 150
- Sugar: 4g
- Sodium: 150mg
- Fat: 5g
- Saturated Fat: 3g
- Unsaturated Fat: 2g
- Trans Fat: 0g
- Carbohydrates: 22g
- Fiber: 1g
- Protein: 4g
- Cholesterol: 30mg
Keywords: Dinner Rolls, Bread, Baking