
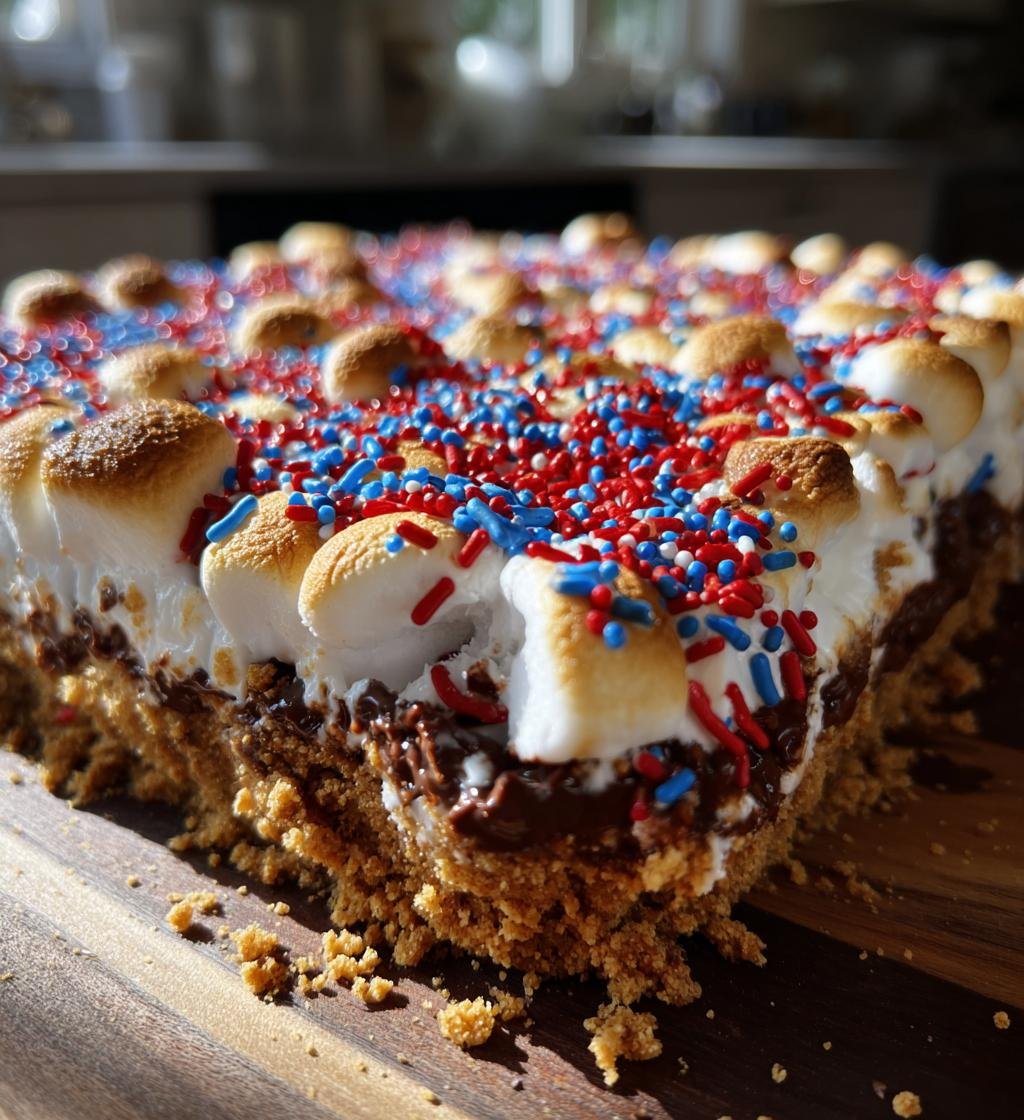
Independence Day is all about celebration, fireworks, and, of course, delicious food! What could be better than making your own *Campfire Treats Independence Day — Homemade* right in your kitchen? This recipe is a delightful mix of graham crackers, melty chocolate, and gooey marshmallows that will have everyone reaching for seconds. The best part? It’s incredibly easy to whip up, so you can spend more time enjoying the festivities with family and friends instead of slaving away in the kitchen.
Picture this: the aroma of buttery graham cracker crust baking in the oven, followed by the sight of golden marshmallows bubbling over a layer of chocolate chips. Wow, it’s a treat that’s as fun to make as it is to eat! Plus, decorating with red and blue sprinkles adds a festive touch that’s perfect for the holiday. Trust me, once you dive into this recipe, you’ll be the star of the cookout!
Ingredients List
Here’s what you’ll need to make these scrumptious *Campfire Treats Independence Day — Homemade*. Gather these ingredients, and you’ll be on your way to a delightful dessert that’ll wow your friends and family:
- 1 cup graham cracker crumbs: This forms the delicious base of your treats, giving it that classic campfire flavor.
- 1/2 cup melted butter: This adds richness and helps bind the crumbs together for a perfect crust.
- 1 cup chocolate chips: Choose your favorite type—milk, dark, or even peanut butter chips for a twist!
- 1 cup mini marshmallows: These melt into gooey perfection, adding that quintessential s’mores experience.
- Red and blue sprinkles: These are for decoration, giving your treats a festive look that screams Independence Day.
Having all your ingredients prepped and ready will make the whole process a breeze. Trust me, you’ll be glad you did when you’re knee-deep in deliciousness!
How to Prepare Campfire Treats Independence Day — Homemade
Now that you have your ingredients ready, let’s dive into the fun part—making these *Campfire Treats Independence Day — Homemade*! I promise it’s as easy as it sounds, and I’ll walk you through every step. Let’s get started!
Step-by-Step Instructions
Preheat the Oven
First things first, let’s preheat that oven to 350°F (175°C). This is a crucial step because a properly preheated oven ensures even baking and helps those marshmallows achieve that gorgeous golden color. Trust me, you don’t want to skip this part!
Prepare the Base
Next, grab a mixing bowl and combine your 1 cup of graham cracker crumbs with 1/2 cup of melted butter. Use a fork to mix them together until it resembles wet sand. You want that buttery goodness evenly distributed throughout the crumbs! It should be moist but still crumbly, perfect for pressing into your baking dish.
Assemble the Layers
Now we’re getting to the fun part—layering! Take your graham cracker mixture and press it firmly into the bottom of a non-stick baking dish (about 8×8 inches works great). Make sure it’s packed tightly; this will be the foundation for your treats. Next, sprinkle 1 cup of chocolate chips evenly over that crust. Don’t be shy—this is where the chocolate magic happens! Finally, top it off with 1 cup of mini marshmallows, spreading them out so every bite gets that gooey goodness.
Baking
Pop your layered creation into the preheated oven and bake for about 10 minutes. Keep a close eye on it during the last few minutes—the marshmallows should puff up and turn a lovely golden brown. If they start to get too dark, pull them out! You want that perfect toasted look, not burnt marshmallows.
Cooling and Serving
Once your treats are out of the oven, let them cool in the dish for about 15 minutes. This helps everything set up nicely. After cooling, it’s time for the finishing touch—sprinkle those red and blue sprinkles all over the top! Not only do they add a festive flair, but they also make these treats even more irresistible. Cut into squares, serve, and watch everyone’s faces light up with delight!
Tips for Success
Let me share some pro tips to make your *Campfire Treats Independence Day — Homemade* truly unforgettable! With just a few little tweaks, you can elevate your treats and impress all your friends and family.
- Use a non-stick baking dish: This is key for easy removal. I love using a glass dish because it allows you to see that beautiful golden layer as it bakes, but you can go for a classic metal one too! Just make sure it’s non-stick to avoid any sticky situations.
- Customize your flavors: Feel free to get creative! Swap out the chocolate chips for your favorite candies—think peanut butter chips, caramel bits, or even crushed-up candy bars! The possibilities are endless. You can also add a sprinkle of cinnamon or a dash of vanilla extract to the graham cracker mixture for an extra flavor boost.
- Store leftovers properly: If you have any treats left (which is unlikely, trust me!), store them in an airtight container at room temperature. They’ll stay fresh for a few days, but I highly recommend enjoying them within the first couple of days for the best texture and flavor.
- Experiment with toppings: Besides red and blue sprinkles, consider drizzling some melted chocolate or caramel over the top after baking for an extra touch of deliciousness. You could even add some crushed nuts for a nice crunch!
- Don’t rush the cooling: I know it’s tempting to dig in right away, but letting them cool for about 15 minutes helps everything set up nicely and makes cutting easier. Plus, it gives you a moment to enjoy the amazing aroma filling your kitchen!
With these tips in your back pocket, you’re all set to create the most delightful campfire treats that’ll have everyone asking for the recipe!
Why You’ll Love This Recipe
- Quick Preparation: With just 15 minutes of prep time, you can have these delicious *Campfire Treats Independence Day — Homemade* ready to bake, making it perfect for those last-minute gatherings!
- Festive Appearance: The vibrant red and blue sprinkles not only add a pop of color but also bring a fun, festive spirit that’s perfect for celebrating Independence Day.
- Delicious Flavors: The combination of buttery graham cracker crust, melty chocolate, and gooey marshmallows creates a mouthwatering flavor that’s reminiscent of classic s’mores—every bite is pure bliss!
- Great for Gatherings: These treats are a hit at any summer gathering, from backyard barbecues to picnics. They’re easy to share, and everyone loves the nostalgic taste of campfire treats!
- Customizable: You can easily adapt the recipe to suit your taste or dietary preferences. Swap out chocolate chips for your favorite candies or add different toppings to make them uniquely yours!
Nutritional Information Section
Let’s talk about the nutritional values of these delightful *Campfire Treats Independence Day — Homemade*! Remember, these are estimates based on typical ingredients, so your actual values may vary a bit depending on your choices and brands used. Here’s a breakdown per serving (1 piece):
- Calories: 150
- Fat: 7g
- Saturated Fat: 4g
- Unsaturated Fat: 2g
- Trans Fat: 0g
- Cholesterol: 15mg
- Sodium: 80mg
- Carbohydrates: 20g
- Sugar: 10g
- Fiber: 1g
- Protein: 2g
These treats are not only a fun addition to your Independence Day celebrations but also a sweet treat that won’t break the calorie bank! Enjoy them in moderation, and you’ll be all set for a festive day of fun and flavor.
FAQ Section
Got questions about these delicious *Campfire Treats Independence Day — Homemade*? Don’t worry, I’ve got you covered! Here are some common questions I get, along with my best answers to help you out.
Can I substitute the chocolate chips?
Absolutely! Feel free to swap out the chocolate chips for your favorite candies. Peanut butter chips, caramel bits, or even crushed-up cookies can add a fun twist to your treats. Just keep in mind that different candies might alter the overall flavor a bit, but that’s all part of the fun!
How should I store the leftovers?
If you have any leftovers (which I highly doubt because they’re so good!), store them in an airtight container at room temperature. They’ll stay fresh for a few days, but for the best taste and texture, try to enjoy them within the first couple of days. If they start to feel a bit stale, pop them in the microwave for a few seconds to get that gooey marshmallow goodness back!
I don’t have a non-stick baking dish. Can I use a regular one?
If you don’t have a non-stick baking dish, you can still use a regular one—just make sure to grease it well with butter or cooking spray. This will help prevent any sticking issues and ensure your *Campfire Treats* come out easily once they’ve cooled. Just take your time when you’re cutting them to avoid any breakage!
What if I want to make these treats gluten-free?
No problem! You can use gluten-free graham cracker crumbs instead of regular ones. There are some great brands out there that taste just as delicious as the traditional kind. Just make sure to double-check that all your other ingredients are gluten-free as well, and you’re good to go!
Can I make these treats ahead of time?
You bet! These treats are perfect for making ahead of time. Just bake them, let them cool, and store them in an airtight container. You can even add the sprinkles right before serving to keep them looking fresh and festive. This way, you’ll have one less thing to worry about on the big day!
Storage & Reheating Instructions
Now that you’ve whipped up these delicious *Campfire Treats Independence Day — Homemade*, let’s talk about how to keep them fresh and tasty! Proper storage is key to ensuring you can enjoy these treats for days after your holiday celebrations.
To store leftovers, simply place them in an airtight container. This will help prevent them from drying out and keep that gooey marshmallow goodness intact. I recommend layering parchment paper between the treats if you’ve cut them into squares—this makes it easier to grab one without them sticking together.
Keep your container at room temperature for the best results, as refrigeration can make the marshmallows a bit tough. They’ll stay fresh for about 3-4 days, but trust me, they’re so good you might not have any leftovers!
If you find yourself with treats that are a little too firm, no worries! You can easily revive them. Just pop a piece in the microwave for about 10-15 seconds. This will warm them up and soften the marshmallows, bringing back that delightful gooeyness. Wow, it’s like enjoying them fresh out of the oven again!
And there you have it! With these storage and reheating tips, you can savor your *Campfire Treats Independence Day — Homemade* long after the fireworks have faded. Enjoy!
Print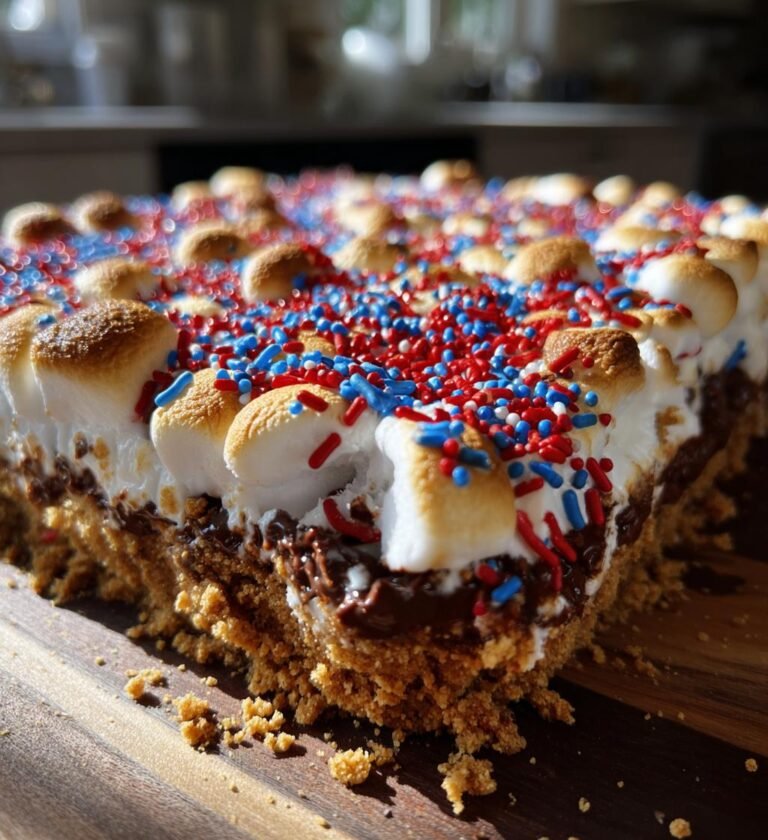
Campfire Treats Independence Day — Homemade: 5 Sweet Secrets
A delightful recipe for making campfire treats at home for Independence Day celebrations.
- Total Time: 25 minutes
- Yield: 12 servings 1x
Ingredients
- 1 cup graham cracker crumbs
- 1/2 cup melted butter
- 1 cup chocolate chips
- 1 cup mini marshmallows
- Red and blue sprinkles for decoration
Instructions
- Preheat your oven to 350°F (175°C).
- Mix graham cracker crumbs and melted butter in a bowl.
- Press the mixture into the bottom of a baking dish.
- Sprinkle chocolate chips evenly over the crust.
- Add mini marshmallows on top of the chocolate chips.
- Bake for 10 minutes or until marshmallows are golden.
- Remove from oven and let cool.
- Sprinkle with red and blue sprinkles before serving.
Notes
- Use a non-stick baking dish for easy removal.
- Store leftovers in an airtight container.
- Feel free to substitute chocolate chips with your favorite candy.
- Prep Time: 15 minutes
- Cook Time: 10 minutes
- Category: Dessert
- Method: Baking
- Cuisine: American
- Diet: Vegetarian
Nutrition
- Serving Size: 1 piece
- Calories: 150
- Sugar: 10g
- Sodium: 80mg
- Fat: 7g
- Saturated Fat: 4g
- Unsaturated Fat: 2g
- Trans Fat: 0g
- Carbohydrates: 20g
- Fiber: 1g
- Protein: 2g
- Cholesterol: 15mg
Keywords: Campfire Treats, Independence Day, Homemade, Dessert