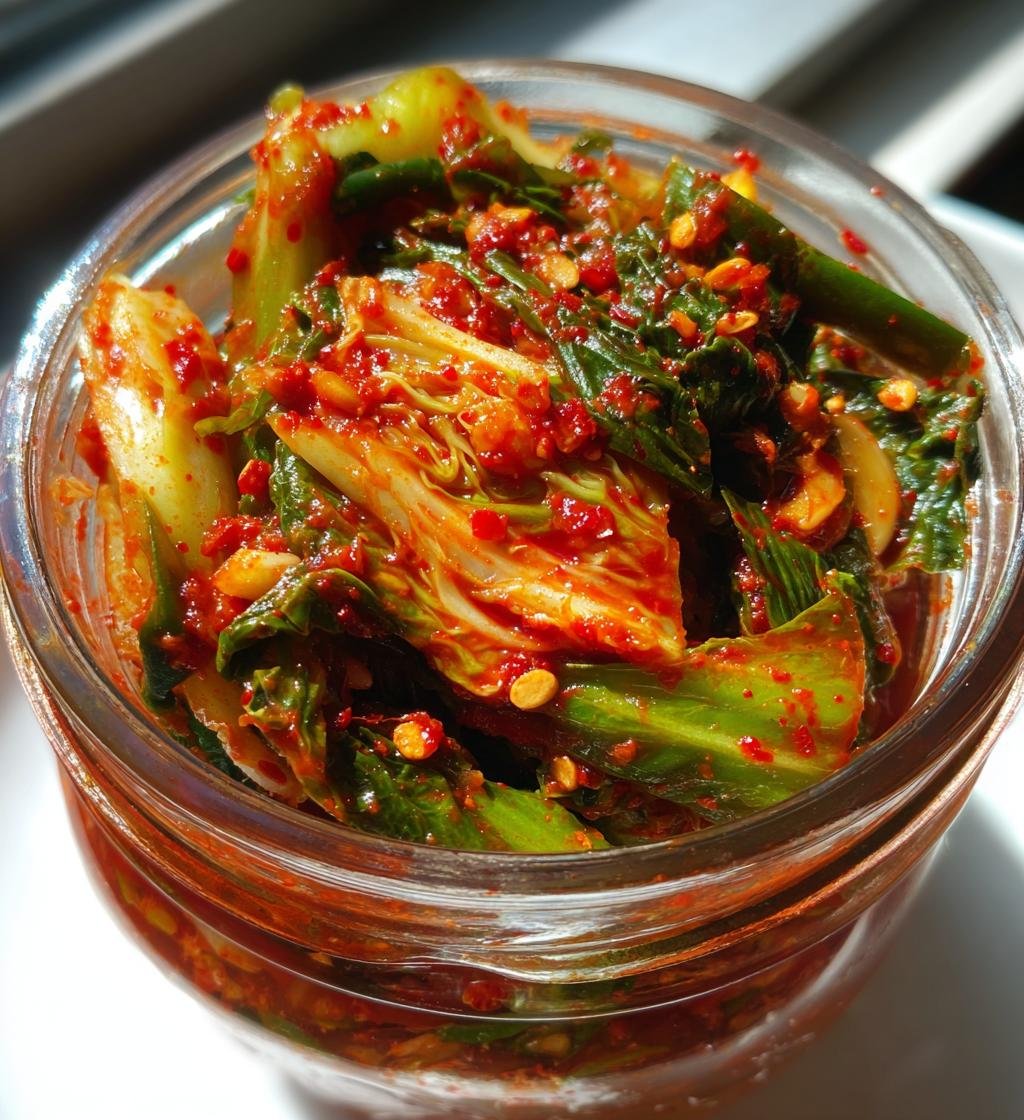
Fermented foods have a magical way of transforming simple ingredients into powerhouses of flavor and nutrition! I absolutely love making kimchi and pickles at home because they’re not just delicious; they’re also packed with probiotics that can really boost gut health. You know, as a home cook, I’ve learned that these little wonders can enhance everything from my morning eggs to evening stir-fries. Trust me, once you start incorporating fermented foods into your meals, you’ll feel the difference in your digestion and overall well-being.
Plus, the process of fermentation is like a culinary adventure! There’s something so satisfying about watching your vegetables transform over a few days, bubbling and bursting with life. I’ve spent countless afternoons experimenting with different spice blends and techniques, and I can’t wait to share this delightful journey with you. You’ll find that making your own fermented foods is not only easy but also incredibly rewarding. So roll up your sleeves, and let’s dive into the world of kimchi and pickles!
Why You’ll Love This Recipe
- Rich in Probiotics: Fermented foods like kimchi and pickles are teeming with beneficial bacteria that help support a healthy gut.
- Easy to Make: The process is surprisingly simple! With just a few ingredients and some patience, you can create these tangy delights right at home.
- Enhances Gut Health: Regularly enjoying fermented foods can improve digestion and overall well-being, making them a fantastic addition to your diet.
- Adds Flavor to Meals: Kimchi and pickles aren’t just healthy; they bring a burst of flavor to any dish, from tacos to rice bowls!
You’ll find that these fermented treats not only elevate your meals but also keep your gut happy! What’s not to love?
Ingredients for Fermented Foods (kimchi, pickles)
Gathering the right ingredients is key to making delicious fermented foods that pack a punch! Here’s what you’ll need for my favorite kimchi:
- 1 medium napa cabbage, chopped: This is the star of the show! Its crisp texture and mild flavor make it perfect for fermentation.
- 1 cup sea salt: Essential for drawing out moisture and creating the brine that helps the fermentation process.
- 4 cups water: This will help dissolve the salt and soak your cabbage.
- 1 tablespoon grated ginger: Adds a zesty kick that complements the cabbage beautifully.
- 5 cloves garlic, minced: Because you can never have too much garlic! It brings a robust flavor that’s oh-so-good.
- 1 tablespoon sugar: Just a touch to balance the flavors and encourage fermentation.
- 2 tablespoons fish sauce: This ingredient gives kimchi its characteristic umami flavor, but feel free to use a vegan alternative if you prefer!
- 1 tablespoon Korean red pepper flakes: Adjust this to your liking for that spicy kick!
With these ingredients in hand, you’re ready to start your fermentation journey. Let’s get those flavors bubbling!
How to Prepare Fermented Foods (kimchi, pickles)
Now that we’ve got our ingredients ready, let’s dive into the fun part: preparing our kimchi! Follow these simple steps, and you’ll be on your way to creating a delicious batch of fermented goodness.
Step 1: Soaking the Cabbage
First things first, we need to soak our chopped napa cabbage to draw out excess moisture. In a large bowl, dissolve 1 cup of sea salt into 4 cups of water. It’s super important to make sure the salt is fully dissolved—this brine is what helps the cabbage soften and become more pliable. Once that’s done, toss in your cabbage and let it soak for about 2 hours. This soaking process is crucial as it ensures that your cabbage will ferment properly, so don’t skip it! After 2 hours, rinse the cabbage under cold water to remove the excess salt, then drain it well. You want it to be moist but not overly salty.
Step 2: Preparing the Spice Mixture
While the cabbage is soaking, let’s whip up our spice mixture! In a separate bowl, combine your grated ginger, minced garlic, sugar, fish sauce, and Korean red pepper flakes. Feel free to adjust the amount of pepper flakes based on how spicy you like your kimchi. I like to use a fork to mix everything together until it forms a nice paste. This step is where the magic begins, as these flavors meld together beautifully!
Step 3: Combining Ingredients
Now comes the fun part! Take your drained cabbage and add it to the spice mixture. I recommend using your hands (make sure they’re clean) to mix everything together thoroughly. You want to ensure that every piece of cabbage is coated in that flavorful spice paste. It’s a bit messy, but trust me, it’s worth it! This thorough mixing is essential for an even distribution of flavors, so take your time with it.
Step 4: Fermentation Process
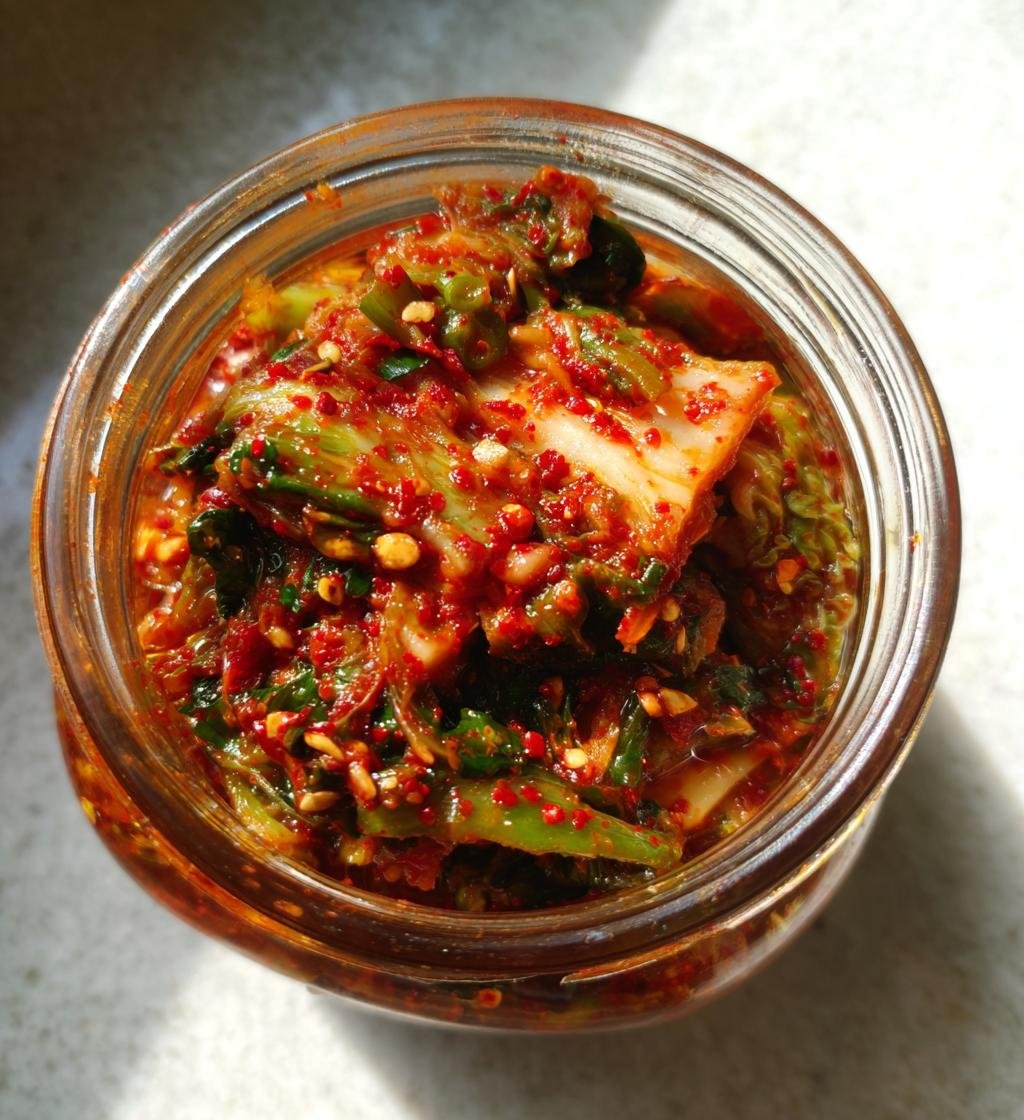
Once everything is mixed well, it’s time to pack the mixture into a clean jar. Make sure to pack it tightly to eliminate any air pockets—this helps with the fermentation process. You’ll want to leave some space at the top of the jar to allow for expansion, as the kimchi will bubble as it ferments. Now, cover the jar with a lid, but don’t seal it too tightly; you want some air to escape. Leave it at room temperature for 2-5 days to ferment. The exact time will depend on the temperature of your kitchen—warmer temps will speed up fermentation, while cooler spaces will slow it down. Just check on it daily and give it a taste! Once it reaches your desired tanginess, move it to the fridge, where it will continue to develop flavor. Enjoy your homemade kimchi!
Tips for Success with Fermented Foods (kimchi, pickles)
Getting the best results from your fermented foods is all about a few simple tips that can make a big difference! First off, don’t be afraid to adjust the spice levels to suit your taste. If you like things a bit spicier, add more Korean red pepper flakes! Just remember, you can always add more heat later, but you can’t take it out once it’s in.
Also, cleanliness is key! Make sure all your utensils and jars are squeaky clean to avoid any unwanted bacteria. I usually run them through the dishwasher or rinse them with boiling water just to be safe. And finally, keep an eye on your fermentation process. Temperature plays a huge role; warmer kitchens speed things up, while cooler spaces slow them down. Taste your kimchi daily to find that perfect tang! Happy fermenting!
Nutritional Information
Before we dive into the deliciousness of our homemade kimchi, it’s good to know what we’re putting into our bodies! Keep in mind that nutritional values can vary based on the specific ingredients and brands you use. But here’s a general idea of what you can expect in a serving of this tasty fermented food:
- Serving Size: 1/2 cup
- Calories: 40
- Fat: 0g
- Saturated Fat: 0g
- Trans Fat: 0g
- Carbohydrates: 9g
- Fiber: 2g
- Protein: 2g
- Sodium: 800mg
- Cholesterol: 0mg
- Sugar: 1g
This nutrient profile shows just how beneficial fermented foods can be! With a low calorie count and a good amount of fiber, it’s a great addition to your meals. Enjoy the health benefits while savoring every crunchy bite!
FAQ about Fermented Foods (kimchi, pickles)
Got questions about fermented foods? I’ve got you covered! Here are some common queries that pop up when you’re diving into the delicious world of kimchi and pickles.
Q1: How long does it take for kimchi to ferment?
The fermentation time can vary, but generally, you’ll want to let your kimchi sit at room temperature for about 2 to 5 days. Just keep an eye on it and taste it daily! Warmer environments speed up the process, while cooler ones slow it down.
Q2: Can I use other vegetables for fermentation?
Absolutely! While napa cabbage is traditional for kimchi, you can experiment with other veggies like radishes, cucumbers, or carrots. Just make sure they’re fresh and crisp for the best results!
Q3: What if my kimchi smells off?
A funky smell can happen if the fermentation process goes wrong. If it smells sour or rotten, it’s best to toss it. But if it just smells tangy and delicious, you’re good to go!
Q4: How do I store leftover kimchi?
Once your kimchi is fermented to your liking, transfer it to the fridge. It’ll keep for about three months, and the flavors will continue to develop. Just make sure to use clean utensils when serving to keep it fresh!
Q5: Are fermented foods really good for gut health?
Yes! Fermented foods like kimchi and pickles are rich in probiotics, which can help support a healthy gut microbiome. Regularly incorporating them into your diet can lead to improved digestion and overall well-being! Learn more about the benefits of fermented foods.
Storage & Reheating Instructions
Storing your homemade kimchi is super straightforward, and trust me, it’s all about keeping those delightful flavors intact! Once your kimchi has fermented to your liking, transfer it to a clean, airtight jar or container and pop it in the fridge. It’ll stay fresh for about three months, and the flavors will actually deepen over time, which is a win-win!
When you’re ready to enjoy your kimchi, there’s no need to reheat it, as it’s best served cold or at room temperature. Just scoop out what you need with a clean utensil to keep it safe and tasty. If you find it’s gotten a bit too tangy for your taste, try mixing it into stir-fries or soups where it can add a delicious kick! Enjoy the gut-friendly benefits and savor every crunchy bite!
Serving Suggestions for Fermented Foods (kimchi, pickles)
Now that you’ve got a delicious batch of homemade kimchi or pickles, let’s talk about how to enjoy them! These vibrant fermented foods are incredibly versatile and can elevate so many meals. I absolutely love serving kimchi alongside a steaming bowl of rice or as a zesty topping on grilled meats. The crunch and tanginess cut through the richness beautifully!
If you’re feeling adventurous, try adding kimchi to tacos for a delightful twist on your favorite fillings. It adds that perfect pop of flavor! You can even toss some pickles into sandwiches or burgers for an extra crunch. And don’t overlook salads—mixing pickles into your greens brings an unexpected zing that’ll impress your guests. Trust me, once you start incorporating these fermented delights into your meals, you’ll wonder how you ever lived without them!
Print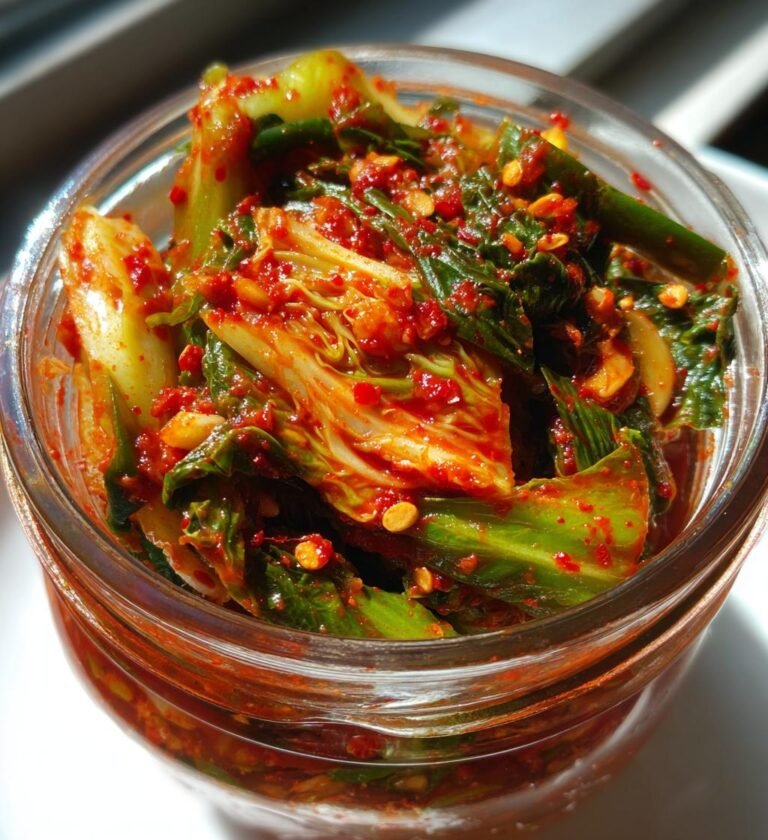
Fermented foods: 7 Transformative Recipes for Gut Health
Fermented foods are rich in probiotics and enhance gut health.
- Total Time: 2 days 30 minutes
- Yield: 1 quart 1x
Ingredients
- 1 medium napa cabbage, chopped
- 1 cup sea salt
- 4 cups water
- 1 tablespoon grated ginger
- 5 cloves garlic, minced
- 1 tablespoon sugar
- 2 tablespoons fish sauce
- 1 tablespoon Korean red pepper flakes
Instructions
- In a large bowl, dissolve salt in water.
- Add the chopped cabbage and soak for 2 hours.
- Rinse cabbage under cold water and drain well.
- In a separate bowl, mix ginger, garlic, sugar, fish sauce, and pepper flakes.
- Add the cabbage to the spice mixture and mix thoroughly.
- Packing the mixture tightly into a clean jar.
- Leave at room temperature for 2-5 days to ferment.
- Refrigerate and consume within 3 months.
Notes
- Adjust spice level to your taste.
- Fermentation time varies based on temperature.
- Use clean utensils to avoid contamination.
- Prep Time: 30 minutes
- Cook Time: 0 minutes
- Category: Fermented Foods
- Method: Fermentation
- Cuisine: Korean
- Diet: Vegan
Nutrition
- Serving Size: 1/2 cup
- Calories: 40
- Sugar: 1g
- Sodium: 800mg
- Fat: 0g
- Saturated Fat: 0g
- Unsaturated Fat: 0g
- Trans Fat: 0g
- Carbohydrates: 9g
- Fiber: 2g
- Protein: 2g
- Cholesterol: 0mg
Keywords: kimchi, pickles, probiotics, gut health