
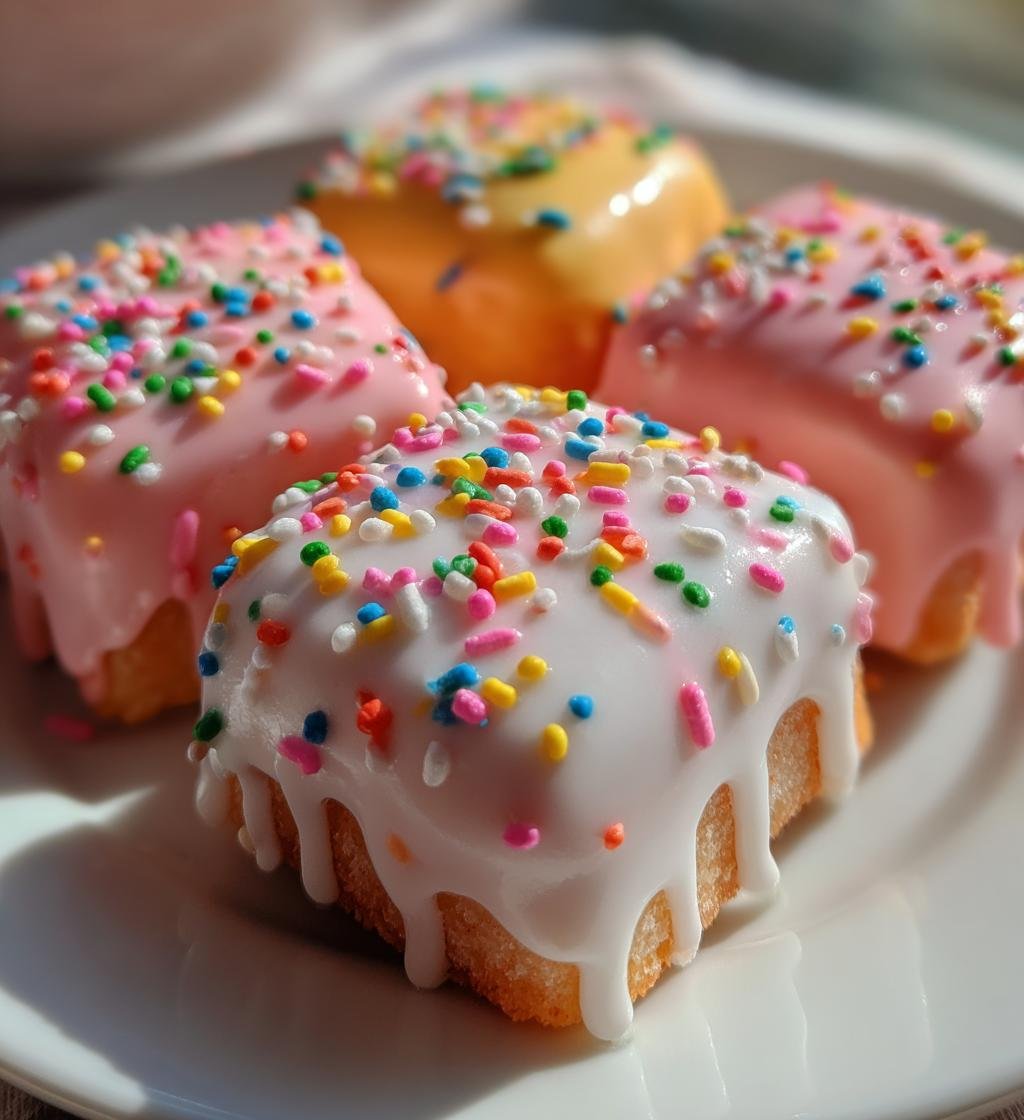
Oh, let me tell you about petit fours! These little gems are like tiny bites of elegance and joy, perfect for your July celebrations. Imagine a warm summer day, laughter filling the air, and a beautiful platter of these delightful cakes at your gathering. They’re not just desserts; they’re a sweet experience that adds a touch of charm to any occasion. Whether it’s a birthday party, a garden tea, or a casual get-together, petit fours always steal the show!
What I love most about them is their versatility. You can dress them up in bright colors and festive sprinkles, or keep them simple and classic. The best part? They’re surprisingly easy to make! With just a handful of ingredients, you can whip up a batch to impress your friends and family. Trust me, once you take that first bite, you’ll understand why these petite treats have a special place in my heart. So, let’s dive into making the best petit fours July has to offer!
Ingredients List
- 1 cup all-purpose flour
- 1/2 cup unsalted butter, softened
- 1/2 cup granulated sugar
- 2 large eggs
- 1/4 cup milk
- 1 teaspoon vanilla extract
- 1/2 teaspoon baking powder
- 1/4 teaspoon salt
- 1 cup fondant icing
- Food coloring (optional, for vibrant designs)
- Decorative sprinkles (optional, to add a festive touch)
How to Prepare Petit Fours July
Alright, let’s roll up those sleeves and get into the fun part – making those adorable petit fours! It’s a process that’s as rewarding as it is delightful. Don’t worry; I’ll guide you through each step so you’ll feel like a pro in no time!
Prepping the Batter
First things first, let’s get that batter ready! Start by grabbing a large mixing bowl. You’ll want to cream together the softened butter and granulated sugar until it’s light and fluffy. This usually takes about 2-3 minutes with an electric mixer, but if you’re feeling adventurous, a good old-fashioned wooden spoon works too! Just remember, the fluffier it gets, the better your cake will be!
Next, add in those two large eggs, milk, and vanilla extract. Mix it all together until it’s well combined. Now, here’s a little tip: make sure your butter is softened but not melted. Otherwise, your batter could turn out too runny. Gently fold in the flour, baking powder, and salt until everything is just combined. Don’t overmix it – a few flour streaks are perfectly fine. This helps keep your petit fours light and tender!
Baking the Petit Fours
Now, it’s time to transfer that lovely batter into a greased and lined baking pan. Spread it out evenly and pop it into your preheated oven at 350°F (175°C) for about 20-25 minutes. While it’s baking, the aroma will start to fill your kitchen, and trust me, it’s heavenly! To check for doneness, stick a toothpick in the center; if it comes out clean or with a few moist crumbs, you’re good to go. If it’s still wet, give it a couple more minutes.
Icing and Decorating
Once your petit fours are baked and cooled completely, it’s time for the fun part – icing and decorating! Roll out your fondant icing on a clean surface dusted with powdered sugar. You want it to be about 1/8 inch thick. Use a sharp knife or cookie cutter to cut the fondant into shapes that will fit your petit fours perfectly.
Now, here’s where you can get creative! Gently lay the fondant over each cake, smoothing it out with your fingers. If you’re feeling fancy, add some decorative sprinkles on top while the fondant is still slightly tacky. This will make them look extra special and festive! Just imagine how gorgeous they’ll be on your summer table – a true showstopper!
Why You’ll Love This Recipe
- Elegant Presentation: Petit fours are the epitome of elegance. Their petite size and beautiful designs make them the perfect showstopper for any summer gathering, impressing your guests with their charm.
- Versatile Flavors: You can easily customize the flavors to suit your taste or the theme of your event. Think lemon zest for a fresh twist or almond extract for a lovely nutty flavor – the possibilities are endless!
- Easy to Prepare: With just a handful of simple ingredients and straightforward steps, you’ll find that making petit fours is a breeze. It’s a great way to involve kids or friends in the kitchen, making memories while you bake!
- Perfect for Any Occasion: Whether it’s a birthday party, a bridal shower, or a casual summer get-together, these little treats fit right in. They bring a sense of celebration to every event, no matter how big or small!
- Make-Ahead Friendly: You can prepare the petit fours a day in advance, which makes them an excellent option for busy hosts. Just store them in an airtight container, and they’ll be ready to dazzle on the day of your event.
Tips for Success
Getting those petit fours just right can be a delightful journey! To help you along the way, here are some tried-and-true tips that will make your baking experience smoother and more successful. Trust me, these little nuggets of wisdom will save you time and help you avoid common pitfalls!
Use Quality Ingredients
Start with the best ingredients you can find. Fresh eggs and high-quality butter can make a noticeable difference in flavor and texture. I always recommend unsalted butter, as it allows you to control the saltiness of your batter. And don’t skimp on the vanilla extract – a good pure vanilla will elevate your petit fours to a whole new level!
Measure Carefully
When it comes to baking, precision is key! Use measuring cups and spoons for accuracy, especially when it comes to baking powder and flour. Too much flour can lead to dense, dry cake, so be sure to spoon the flour into your measuring cup and level it off with a knife instead of scooping directly from the bag.
Let the Cakes Cool Completely
This is crucial! If you ice your petit fours before they’ve cooled down, the fondant can melt or slide off. I know it’s tempting to get to the decorating part, but patience pays off here. Let them cool in the pan for about 10 minutes, then transfer them to a wire rack to cool completely.
Don’t Overmix the Batter
Mixing your batter too much can lead to tough cake, which you definitely don’t want! Just mix until the ingredients are combined. A few small flour streaks are okay – those will disappear as you bake. Also, remember to fold gently when incorporating the dry ingredients to keep that lovely light texture!
Practice with Fondant
If you’re new to working with fondant, don’t stress! It can take a little practice to get the hang of rolling it out and applying it smoothly. If your first few attempts don’t look perfect, that’s totally okay! Just remember, you can always cover any imperfections with sprinkles or other decorations. It adds character!
Experiment with Flavors and Colors
Feel free to play around with different flavors in your batter. Want a hint of citrus? Add some lemon or orange zest! Craving something richer? Try almond or coconut extract! And don’t forget about food coloring – a few drops can turn your fondant into a vibrant celebration of color. Get creative!
Store Properly
Once your petit fours are beautifully iced and decorated, store them in an airtight container. This keeps them fresh and prevents them from drying out. If you’re making them ahead of time, consider placing parchment paper between layers to avoid sticking. They can last a couple of days, but trust me, they’ll be gone before you know it!
With these tips in your baking arsenal, you’re all set to create stunning petit fours that are sure to impress. Enjoy the process and have fun – you’ve got this!
Variations of Petit Fours July
Oh, the beauty of petit fours is that they’re like a blank canvas waiting for your creative touch! You can have so much fun experimenting with different flavors, colors, and themes, especially for those vibrant July celebrations. Here are some delightful variations to consider:
Flavor Twists
- Citrus Bliss: Add some zest to your batter with lemon or orange zest for a refreshing twist. You can even use citrus-flavored fondant to match!
- Chocolate Lovers: Substitute a quarter cup of all-purpose flour with cocoa powder for a rich chocolate cake. Top with chocolate fondant, and you’ve got a decadent treat!
- Almond Delight: Swap out vanilla extract for almond extract in the batter. It gives a lovely nutty flavor that pairs wonderfully with a light almond-flavored icing.
- Coconut Dream: Incorporate shredded coconut into the batter for a tropical flair. You can use coconut-flavored fondant or sprinkle toasted coconut on top for added texture.
Colorful Creations
- Patriotic Themes: For July 4th celebrations, use red, white, and blue food coloring in your fondant. Create fun patterns or even stars and stripes for a festive touch!
- Pastel Perfection: Soft pastel colors are perfect for summer gatherings. Think pale pinks, mint greens, or soft yellows for a charming, elegant look.
- Rainbow Fun: Why not go all out? Layer different colored batters in the pan, or roll out multiple colors of fondant to create a vibrant rainbow effect!
Themed Decorations
- Floral Elegance: Use edible flowers to adorn your petit fours. They not only look stunning but also add a delicate touch that’s perfect for summer.
- Beach Vibes: Decorate with seashell-shaped sprinkles or edible sand (crushed graham crackers) for a fun beach theme. Imagine those sunny summer days!
- Picnic Charm: Wrap each petit four in gingham-patterned paper or place them on a rustic wooden platter for a lovely picnic aesthetic.
With these variations, you can truly make your petit fours reflect your personality and the spirit of the season. Don’t hesitate to get creative and have fun with it – after all, that’s what baking is all about! Enjoy making these delightful treats your own!
Storage & Reheating Instructions
Now that you’ve whipped up a fabulous batch of petit fours, let’s talk about how to keep them fresh and delicious! Proper storage is key to ensuring they remain as delightful as the day you baked them. Luckily, it’s pretty straightforward!
Storing Your Petit Fours
First things first, make sure your petit fours are completely cooled before storing them. If you try to store them while they’re still warm, you’ll end up with a soggy mess – and nobody wants that! Once they’re cool, here’s what I do:
- Airtight Container: Place your petit fours in an airtight container. This helps to keep them fresh and prevents them from drying out. You can stack them, but I recommend placing a layer of parchment paper between layers to avoid any sticking.
- Refrigeration: If you live in a warm climate or just want to be extra cautious, you can refrigerate them. Just be aware that fondant can become a little sticky when chilled, so be sure to wrap each petit four in plastic wrap before placing them in the fridge.
- Room Temperature: If you plan to eat them within a couple of days, storing them at room temperature is perfectly fine. Just keep them in a cool, dry place away from direct sunlight.
Reheating Tips
Now, if you find yourself with leftover petit fours that need a little love, reheating them isn’t usually necessary since they’re best enjoyed at room temperature. However, if they’ve been in the fridge and you want to enjoy them warm, here’s how I like to do it:
- Gentle Warming: Place your petit fours on a microwave-safe plate and heat them in the microwave for about 5-10 seconds. You want to warm them just enough to take the chill off, not to melt the icing!
- Oven Method: If you prefer a more even warming, preheat your oven to 200°F (93°C). Arrange the petit fours on a baking sheet and warm them for about 5-7 minutes. This way, they’ll stay soft and tender without any melting!
With these storage and reheating tips, your petit fours will remain scrumptious, ready to impress at a moment’s notice. Enjoy every bite, and don’t forget to share the joy of these delightful treats with your loved ones!
Nutritional Information
Here’s a quick look at the estimated nutritional values for one delightful petit four. Keep in mind that these values can vary depending on the specific ingredients you use, but this will give you a good ballpark figure:
- Calories: 100
- Fat: 5g
- Saturated Fat: 3g
- Unsaturated Fat: 2g
- Trans Fat: 0g
- Cholesterol: 20mg
- Sodium: 50mg
- Carbohydrates: 12g
- Fiber: 0g
- Sugar: 10g
- Protein: 1g
These petit fours may be small, but they pack a sweet punch! Enjoy them as a delightful treat at your July celebrations while keeping an eye on those numbers. Happy baking!
FAQ Section
Q1. Can I use store-bought fondant for my petit fours?
Absolutely! Store-bought fondant can save you time and still give you that beautiful finish. Just make sure to knead it well before rolling it out to ensure it’s pliable and easy to work with. If you want to get fancy, you can even color it yourself!
Q2. How can I avoid my petit fours sticking to the pan?
To prevent sticking, be sure to grease and line your baking pan properly. Use parchment paper on the bottom and grease the sides. If you’re feeling adventurous, you can also try using cake goop – a mixture of equal parts flour, vegetable oil, and shortening – to coat your pan. It works wonders!
Q3. What can I do if my fondant is too sticky to work with?
If your fondant is being a little too clingy, don’t panic! Simply dust your work surface and rolling pin with powdered sugar or cornstarch. This will help reduce the stickiness. Just be careful not to add too much, as it can dry out the fondant.
Q4. How far in advance can I make petit fours?
You can make these delightful treats up to a day ahead of your event. Just store them in an airtight container at room temperature. If you’re making them further in advance, consider freezing them without the icing. Let them thaw in the fridge before decorating for the freshest taste!
Q5. Can I experiment with different flavors in my petit fours?
Absolutely, yes! The beauty of petit fours is their versatility. You can play around with different flavors in the batter, like lemon, chocolate, or almond. Just remember to match your fondant and decorations to your flavor choices for a cohesive look. Have fun with it!
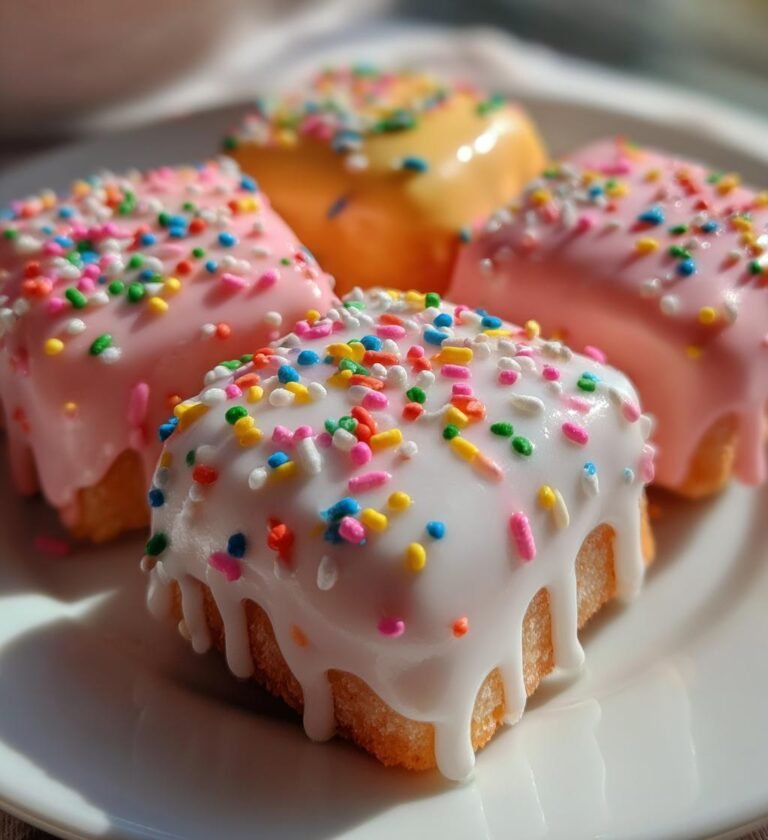
Petit Fours July: 7 Sweet Delights for Summer Celebrations
A delightful assortment of small, elegant cakes known as petit fours, perfect for July celebrations.
- Total Time: 55 minutes
- Yield: 24 petit fours 1x
Ingredients
- 1 cup all-purpose flour
- 1/2 cup unsalted butter
- 1/2 cup granulated sugar
- 2 large eggs
- 1/4 cup milk
- 1 teaspoon vanilla extract
- 1/2 teaspoon baking powder
- 1/4 teaspoon salt
- 1 cup fondant icing
- Food coloring (optional)
- Decorative sprinkles (optional)
Instructions
- Preheat your oven to 350°F (175°C).
- Grease and line a baking pan.
- In a bowl, cream together butter and sugar.
- Add eggs, milk, and vanilla; mix well.
- Combine flour, baking powder, and salt; fold into the mixture.
- Pour the batter into the baking pan and smooth the top.
- Bake for 20-25 minutes or until a toothpick comes out clean.
- Allow to cool completely before icing.
- Roll out fondant and cut into shapes.
- Decorate with sprinkles if desired.
Notes
- Store in an airtight container.
- Can be made a day ahead.
- Experiment with flavors in the batter.
- Prep Time: 30 minutes
- Cook Time: 25 minutes
- Category: Dessert
- Method: Baking
- Cuisine: French
- Diet: Vegetarian
Nutrition
- Serving Size: 1 petit four
- Calories: 100
- Sugar: 10g
- Sodium: 50mg
- Fat: 5g
- Saturated Fat: 3g
- Unsaturated Fat: 2g
- Trans Fat: 0g
- Carbohydrates: 12g
- Fiber: 0g
- Protein: 1g
- Cholesterol: 20mg
Keywords: Petit Fours, July, Dessert, French Pastry